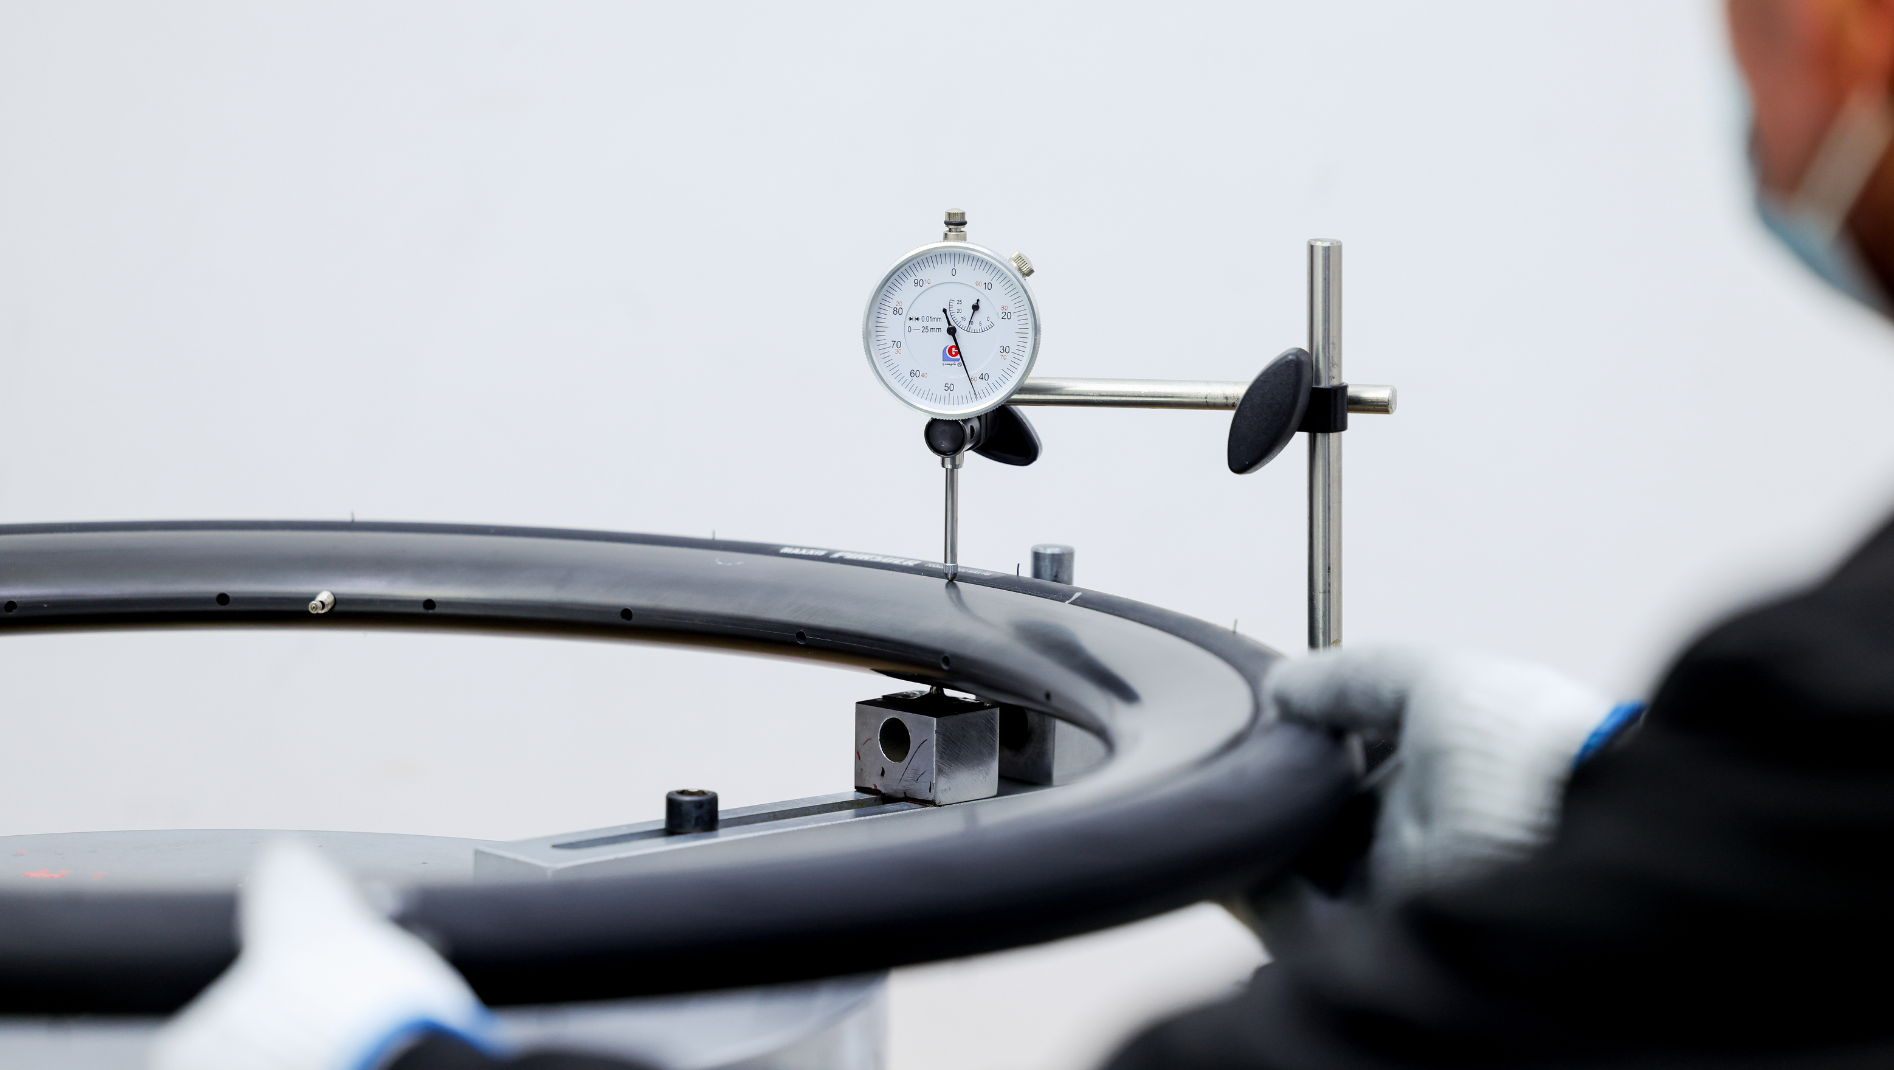
High-Pressure Inflation Test (Clincher/Tubeless)

At NTP Composites, safety is our top priority, and tire retention plays a crucial role in ensuring that our wheels can safely withstand high pressures. To guarantee the reliability and durability of our road bike rims, we conduct rigorous high-pressure tire inflation tests at our factory.

Test Standard

Unless otherwise requested by our clients, we perform our inflation tests based on the following tire sizes and pressures:
  • 25C tires: Inflated to 150 psi
  • 28C tires: Inflated to 140 psi
  • 32C tires: Inflated to 130 psi

For lighter rim versions, tire pressures are reduced by 10 psi accordingly.

Each rim-tire assembly is then placed on our flatness testing machine, ensuring that the rim’s flatness is within a strict tolerance of 0.3mm – in line with our rim-only flatness standard. During inflation, we also monitor for any abnormal noise or rim bead deformation.

Test Goal

The primary objective of our high-pressure inflation test is to verify the rim's ability to safely retain the tire under extreme pressure. This is especially important for road bike setups, where reliability is critical. Our test ensures that the tire interface – including the rim bed and rim beads – is well designed, properly cured, and securely laminated. This guarantees excellent tire retention, no matter the conditions.

Test Equipment

We use a highly precise rim flatness test jig to measure lateral runout with an accuracy of up to 0.01mm. The equipment rotates the rim while automatically recording data, allowing for consistent and reliable measurements. To simulate real-world conditions, we test using popular road tire models that are commonly used by riders, including:
  • Schwalbe Pro One
  • Maxxis Pursuer
  • Continental Grand Prix 5000 TR
  • Continental GP500 S TR

Test Method

Our tire inflation test process follows a strict series of steps to ensure accurate results and maintain the highest quality standards.

Step 1: Mount the tire: The tire is carefully mounted, with rim tape or strips installed as needed. 

Step 2: Inflate the tire: We inflate the tire to the specified pressure. If any abnormal noise or damage to the tire interface is detected, the technician halts the test and reports the issue to a quality control specialist.

Step 3: Secure and test the rim: The rim is positioned and securely clamped onto the testing rig. The cylindrical tip is placed at the rim’s edge, and the rim is rotated while flatness data is recorded. This process is repeated for both sides of the rim. If the rim passes inspection, a white dot is marked on the rim bed.

Sample Test Report

Example Profile

Model

Size

Width

Depth

Weight (Stated)

Measured Weight

R21-50

700c (622-21)

21/26.4mm

50mm

410g

408g

Test Result

Tire Model

Tire Pressure

Flatness (Min)

Flatness (Max)

Lateral Run-Out

Maxxis Pursuer 25C

150psi

0.21mm

0.30mm

0.09mm


In this sample test, the R21-50 rim showed no abnormal noise or damage during inflation. The rim’s flatness, with the tire mounted, remained within the acceptable range of 0.3mm, indicating excellent high-pressure tire retention capability.
Get Your Custom Quote in 24h
Full Name*
Phone No
Email*
Message*
We use Cookie to improve your online experience. By continuing browsing this website, we assume you agree our use of Cookie.